
Thomas Miller
Banned
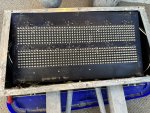
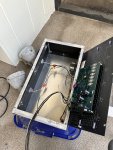
Hello everyone! This is my first post on this forum and I recently over the past few weeks have been attempting to restore a 1st Generation Ryko CMD with the Floodlights. I have already run into my first issue, which is I can't get into the back of the CMD to access the motherboard, due to the back cover being secured with bolts and what look like "rivet nuts" These rivet nuts are tough to get off, not only to mention they're also inside the CMD as well holding the cover in place. My first and only goal is to get this CMD running, but first by doing that I need some wiring schematics because there are 2 wires, one for the floodlights, and one for the Custom Message Display board. Anything helps.


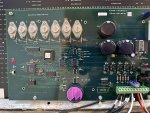


 Those old boards are hard to find!
